
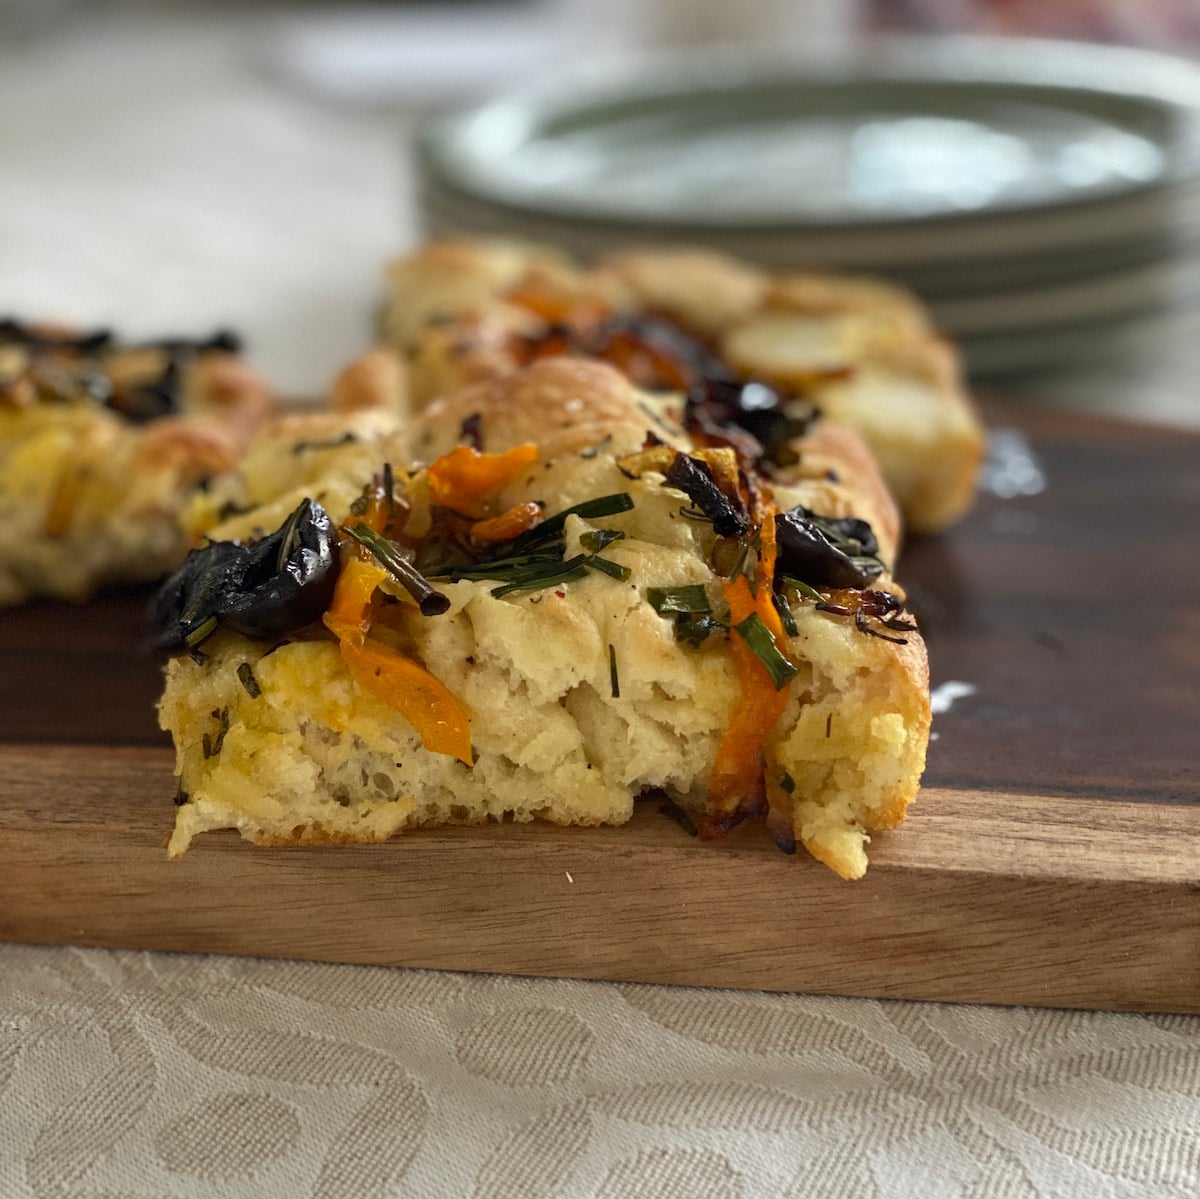
Vegetable Focaccia (and How to Make Focaccia Art)
This springy (as in bouncy!) focaccia bread is decorated with more than a sprinkling of vegetables and coarse, crunchy sea salt to create focaccia art. It’s a fast process due to a condensed rise time. Easy and beautiful, it can make a showy appearance on your dining table tonight as focaccia art with little effort and lots of fun. Make it big or small, fast or slow!

There are a million recipes out there for focaccia, so you may ask “why another?” Over the years I’ve read the recipe note that says “if you don’t have time, leave the dough to rise for just an hour“. This has always perplexed me, and stayed in the back of my mind. I am a curious cook, who researches, tests, and persists, in pursuit of solving a cooking problem. For me, the cooking problem here is how to make a delicious but fast and easy focaccia bread, when I haven’t allotted much time and want it ready the same day.
This recipe is the result of four years of pushing the limits on a yeasted dough recipe, where the least amount of rise time is tested in conjunction with the ideal rise environment temperature and a tasty, bouncy focaccia bread is the result! I’ve worked through a few variations I share here such as the result when it rises longer, and splitting the dough in half for two smaller round loaves, but it’s always topped with glistening, caramelized vegetables that add so much flavor and create a vegetable focaccia which has more to offer than plain focaccia bread.


What you’ll love about this recipe!
⏲️ The rise time: my hack is to use a low heat from the oven to allow the dough to rise quickly, without killing the yeast, opposed to 8 hours on the countertop or longer time overnight in the fridge.
🚰 Dough hydration: the dough contains a high ratio of water to flour (dare I say, as much as 86%, when I’ve read 65% is ideal) which allows the dough to develop the signature “open crumb” of focaccia without as much rise time.
🫒 Olive oil: a key ingredient for making focaccia. Interestingly, it isn’t part of the initial dough mix, but rather, coats the dough as it rises. The oil very literally, allows the dough to relax w/out kneading.
🤔 Options: use the quick rise hack, or leave it to rise overnight. Bake a large rectangular focaccia that serves 12, or divide the dough in half for two round bakes, or one for now and one for 1-3 days later.
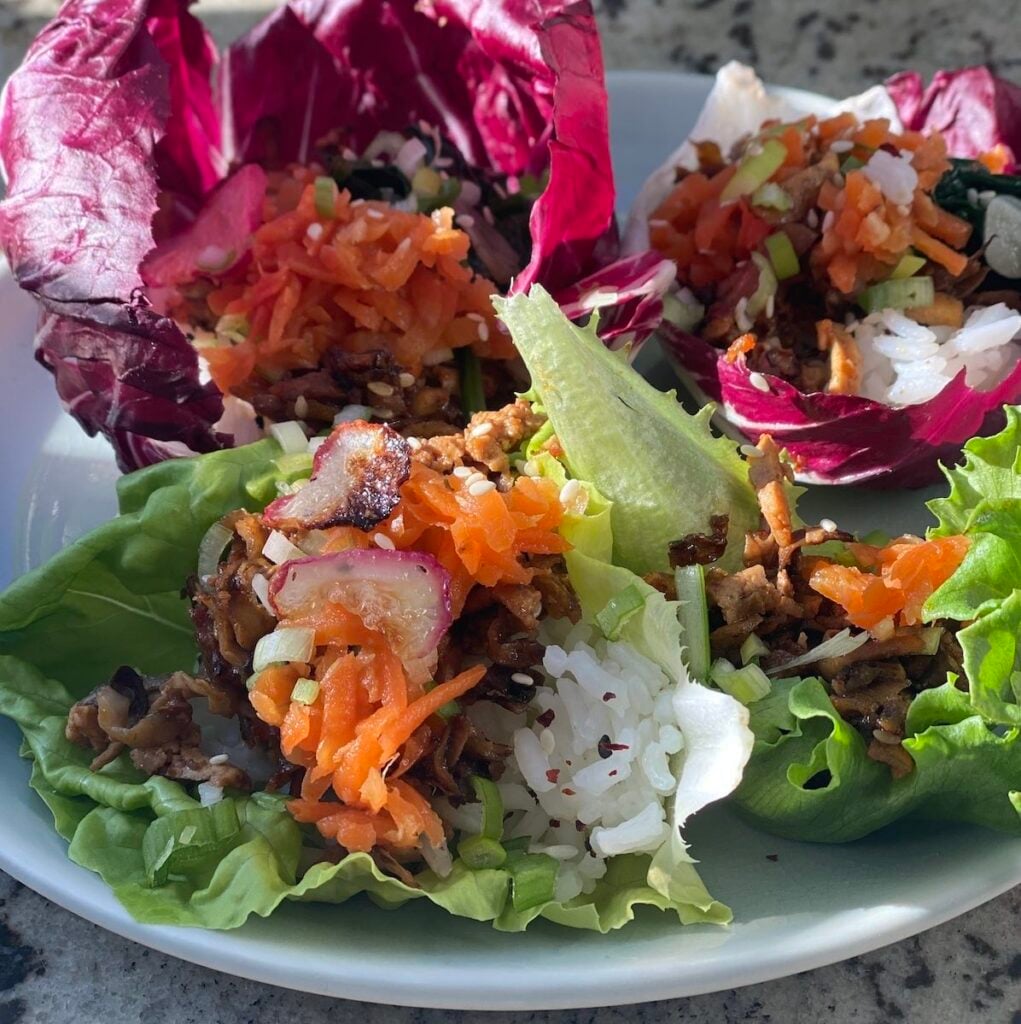
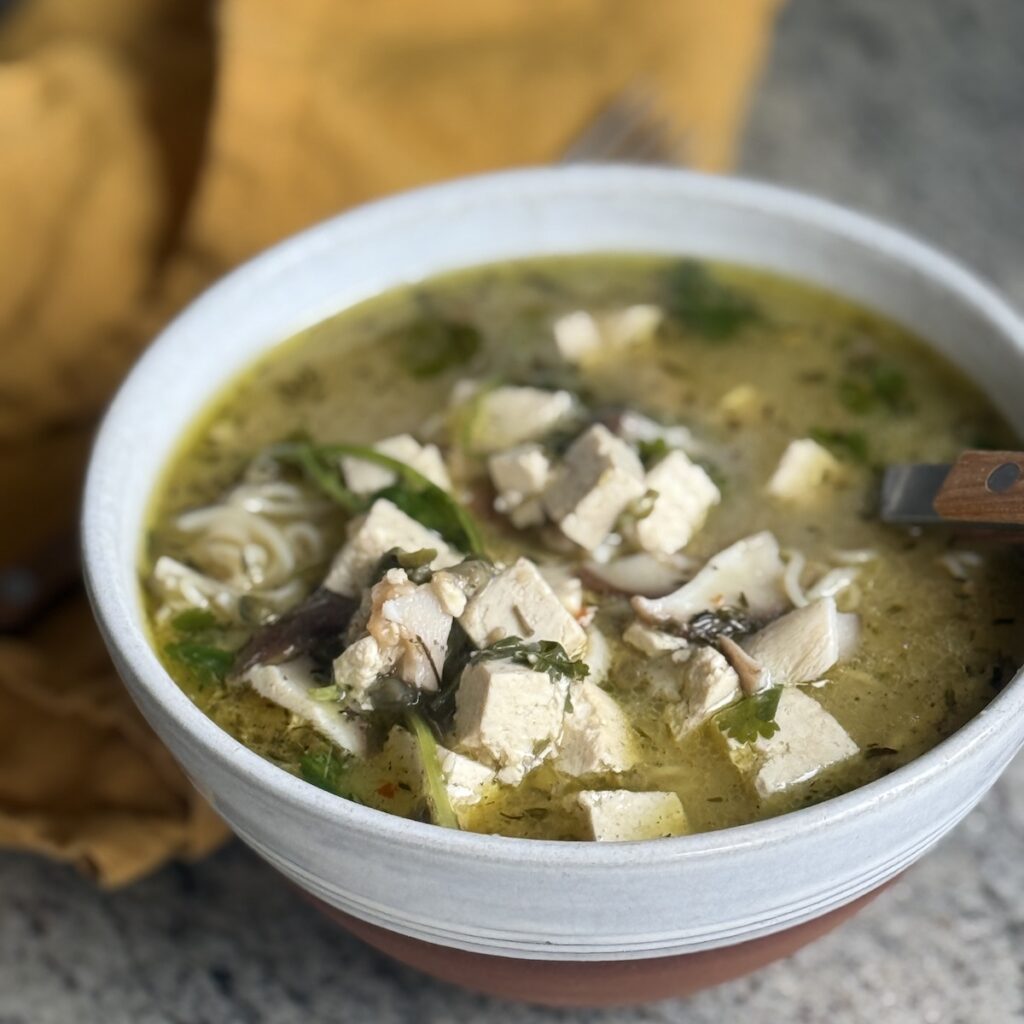
🍽️ Part of a Meal Plan: this unique recipe stars as the side in my Vegetarian Meal Plan (Free PDF) which makes a great meal that includes a starter, main, side, and dessert. Make ahead time is 60 min and day of time is about 1 hour (with componants cooking as you prep). Grocery lists, and what to make when and how, is all figured out for you.
Creating Focaccia Art
- Raw or cooked vegetables: sautéed, almost caramelized vegetables can be used to top the focaccia in a decorative way, as can fresh cut, raw vegetables. The look and taste is a bit different, depending on which vegetables you choose.
- Brushing vegetables with olive oil: if using raw vegetables to top the focaccia, I recommend brushing over them lightly with olive oil. This will help them develop color and flavor in the high heat of the oven.
- Vegetable choice: when choosing vegetables for focaccia art, I consider what the sliced version will look like, and further, I consider how I want to create the vegetable art.
- Type of decorative design: I tend to repeat a pattern, but others like to create a landscape of flowers, as if you are looking head on at stems and blossoms rising up from a garden. Either works, though a repetitive pattern can be easier, in my opinion, where you just have to think about a group of colors and shapes to repeat across the top of the dough. See below for two types of patterns you could create:


Above: whether you create a spiral design like at left or a radial design like at right, special attention can also be paid to the shades and colors and how they are placed (i.e. at left the greener leek slices are together followed by the white slices). Arranging by color as well as pattern creates a pleasing arrangement that is easy on the eyes.
Ingredient notes for focaccia
- Instant yeast: with the intention of creating a risen dough on the same day as cooking the focaccia, I use instant yeast. It makes sense to use the faster rising yeast for faster rising dough, that is also easiest to work with (no proofing in lukewarm water with honey is needed).
- All purpose flour: you can certainly substitute bread flour, though I haven’t tried it yet. I have seen it specified in many recipes, though, so I know it’s possible. It has more gluten and more protein, so maybe it creates a springier focaccia.
- Salt: I’ve learned a lot over time about the types of salt. I use sea salt exclusively. If you use Diamond kosher which many professional chefs swear by, see notes for different measurements, since the crystals are larger. Morton kosher crystals a smaller than diamond, but larger than sea salt crystals, so I’ve provided the differing amounts, depending on which you use.
- Olive oil: since it is a key ingredient that you will really taste, I suggest an extra virgin olive oil (EVOO) that isn’t bitter.
- Vegetables: use vegetables that caramalize well and look great, such as small or cherry tomatoes, leeks and shiitake mushrooms. Red, yellow, orange or green sweet peppers as well as onions would be great (used in the rectangular focaccia at the bottom of the post) as would whole, halved or crushed olives. Because mushrooms are SO good on this, if you can’t use shiitakes, consider another mushroom suggested in My 7 Favorite Mushrooms to Cook: Recipes, Tips & Easy Methods.

Above: you can see that I’ve taken great care in how I sliced all the veggies so that they look pretty when laid on top of the dough.
Steps to make focaccia with a short rise time
Mixing the no-knead focaccia dough couldn’t be simpler and is why as a beginner baker, I was drawn to make it.
Steps 1, 2. Mix the dry ingredients, add the water and mix with a spoon until the dry streaks of flour are gone, but don’t over mix.


Steps 3, 4. Once the dough is mixed it will still look shaggy as shown below at left. Use the spoon to hold the dough aside and pour in 2 tbsp of olive oil. Release the dough, turn, and rotate it to coat it with the oil, then cover with a cloth.


Steps 5, and 6 or 7. Once the dough has risen (see recipe card for using my warm oven hack to speed up the rise), it should have doubled in size and when you poke the surface with a finger, an indentation should remain a little, showing that you’ve released some air. Pour the risen dough into the prepared pan (see recipe card) and leave to rise at room temp or warm oven again, until doubled, about one hour more.


Photo 6 shows dumping dough into sheet pan, while photo 7 shows dumping the dough into a round cast iron pan (if you divide the dough into two sections).

Cutting pretty mushroom slices
The method yields two slices per mushroom that include the stem in a pretty cross section , and these photos show how you can do it!
Steps 8, 9. Now it’s time to cut your veggies and decorate the focaccia. You can follow my suggested designs above or create your own. Don’t space out the veggies too much, because, as you can see below, they shrink back when cooked, and the goal here is to have a focaccia with lots of veggies on top once baked, not just a few bits here and there.


Above and below: you can see how closely I laid the veggies for the radial design and what the design looks like when the focaccia is baked. Note that if you condense the veggies much more than shown at left, the weight of them may prevent as much rising by the focaccia during baking.
Step 10. Bake the focaccia in a very hot, preheated 450 degree oven, for up to 30 min until golden. The hydration of the flour contributes to the long bake time (relative to the high oven temp). Slice and enjoy with more flaky sea salt right away, serve at table once cooled and/or reheat the next day for deliciousness.

Tips for making focaccia topped with vegetables
- Spacing of vegetables: place veggies close together when decorating, because they will become farther apart after cooking.
- Amount of vegetables: I’ve used different amounts of veggies to decorate the focaccia. The more you use, the more they keep the focaccia from rising while cooking. What’s shown in the photos here, works well, but many more than shown do weigh down the focaccia from rising as much.
- Slicing and choice of vegetables: take time to choose veggies in colors and sizes that will look nice once sliced and used to decorate. If you don’t want to make a pattern, just sprinkle the veggies over the dough. It will still taste great!
- Use a warm oven for the rises: heat the oven to 160 ish (the “keep warm” setting), then open it up for a few seconds. This lowers the temp to below 120 (yeast dies above 120 degrees). Place the bowl of covered dough into the oven and close the door. If this feels too fussy or you are afraid you won’t keep the temp low enough, you can keep the oven off, and just turn the light on in the oven while the dough rises (another genius hack, if you ask me). Also, if it’s warm outside, but your house is air conditioned, you can put the dough outside to rise in the 85-100 degree natural heat, covered of course.
- Yeast: if you happen to only have active dry yeast on hand versus the instant yeast, then see recipe notes for subbing that in. No problem, I’ve used both with similar results.
Variations of making focaccia
- Two round focaccias: as per the rest of the post, I’ve featured the dough divided and baked in a 10″ cast iron skillet. You can cook both rounds at once, or leave one half of the dough in the fridge 1-3 days before using. If you do that, your 2nd rise takes longer because you are bringing the dough up to room temperature before it will rise more.
- One large focaccia: below you can see how a beautiful, large, rectangular focaccia can be achieved with an 11″ x 17″ or similar sized sheet pan. Make sure to butter and oil as per recipe card, regardless of what pan you use. A glass lasagna pan can also be used (be sure to butter well), for a thicker focaccia, that may take a bit longer to cook.
- Potatoes: I love to add potato slices onto a focaccia (shown below). They should be pre-cooked, and brushed with oil like the other veggies ideally. This can make the focaccia a heartier side or meal or bread to serve alongside a soup.
- Longer rise: If you aren’t convinced you’ll get a good rise or tasty focaccia from this faster rise method, feel free to put the dough aside all day or in the fridge overnight. The spiral decorated focaccia in this post was left in the fridge overnight and honestly it did not yield a taller, more bubbly result than the same day rise. When all is said and done the super bubbly photos and videos you see online that look so crazy seem to mostly be for show, not for more flavor. Admittedly, though, if you used sourdough starter, you might get closer to that bubble size with a more tangy flavor. I hope to try it one day!


This is the million dollar question. After four years of making focaccia with varying lengths of rise times, I would say unless you are wanting really BIG bubbles and holes and super tall focaccia you can leave the dough for just an hour, than another 1/2 hour in pan before cooking. For me, this has yielded very similar results to leaving longer.
Focaccia is generally made using a no-knead dough with higher hydration (ratio of water to flour) than most breads, which gives it the bouncy open crumb. The higher amount of water along with the coating of oil allows the yeast to move freely to develop this texture (note: I am not a bread expert. This info is based on years of making this one recipe and researching to understand some of the science). Due to coating the dough with oil, and cooking at a high temperature in an oiled (and buttered) pan, the dough yields a somewhat oily, crispy, crunchy crust, also different from most breads.
Pizza dough is dryer than focaccia dough and therefore does not have as bouncy a texture, or the oily aspect which gives it the crusty outer edges. Focaccia can make a wonderful pizza dough, however, depending on what type of crust you enjoy.
Ciabatta has a denser, more chewy texture than focaccia, because the gluten is developed more from multiple “stretch and fold” kneads plus leaving it overnight, whereas focaccia is a no-knead dough that develops a more open and bouncy, caky texture from rest time, but no kneading. Focaccia also incorporates oil, which gives it a different flavor, crunchier crust and oilier texture and handfeel.
Focaccia behaves somewhat like an “enriched” dough, because of the inclusion of a good amount of oil. Recipes vary, but many involve coating the dough in oil, adding a bit of oil to the dough as well as coating the pan with oil and drizzling oil over the top of the focaccia. This gives focaccia its signature crunch, crispiness and oily flavor and feel. The olive oil lends significant flavor to focaccia, as well. It is an eay no-knead break to make for beginner bakers as well.
Instant yeast is already activated and can be added directly to the flour of a bread recipe whereas active dry yeast need to be activated by being mixed with lukewarm water and a small amount of honey or sugar to “feed” the yeast. It then needs to be whisked into a frothy mixture, and watched for 10 minutes to be sure the liquid develops foam, indicating that the yeast is still alive, active, and able to be used, whereas instant yeast can just be used straight out of its package. Instant yeast will generally allow a bread dough to rise faster than active dry yeast will.
Plus, get emails weekly(ish) and when new recipes are published!
Vegetable Focaccia (and How to Make Focaccia Art)
Made it? Click the stars to leave a review – I would be so grateful!

Click below for pop-up of recipe without ads:
Start CookingKitchen Tools
- 1 cast iron skillet (10") for 2 round focaccias, or sheet pan for l large focaccia (i.e. 11"x17")
Ingredients
focaccia ingredients
- 5 cups all purpose flour (625 grams, sub bread flour)
- 2.25 cups water (540 grams)
- 1/4 oz instant yeast (rapid rise) (1 individual packet, sub active dry see notes)
- 2 tsp sea salt (fine ground, not flake- sub 5 tsp diamond crystal salt or 1 tbsp Morton kosher salt- see notes)
- 4-6 tbsp olive oil
- 1 tbsp flaky sea salt (or more, for the top of the focaccia)
vegetable toppings (up to you, but below is what I used for round focaccias featured in this post)
- 4-6 shiitake mushrooms (including stems)
- 1 leek (good sized, use as much of green as can)
- 4 stalks asparagus (for radial design – not practical for spiral design)
- 1 box of cherry tomatoes (find varying colors if possible (orange,yellow,red))
- 2 smaller (2-3") assorted heirloom tomatoes (for interesting color, if available, sub regular red tomatoes)
- various fresh herbs (optional- great flavor and add great aesthetic.)
Instructions:
Turn oven to "keep warm" or the setting that is around 160 F.
Make dough – 5 min. then 60 min. hands off for dough to rise.
- Whisk 5 cups all purpose flour, 1/4 oz instant yeast (rapid rise), and 2 tsp sea salt in large bowl. Add 2.25 cups water and stir with wooden spoon or silicone spatula until there are no streaks of dry flour (do not stir vigorously, however). See photos of how the dough will have a "shaggy" appearance.
- Use the spoon to hold the shaggy dough to the side and pour 2 tbsp of the (4-6 tbsp olive oilin bottom of bowl, set dough free, and then rotate it (flip over) so that it is coated with oil (prevents a skin but will also get incorporated into dough later).
- Cover the bowl with a dish towel.
- Turn the oven off, open it for a minute, then place bowl of dough in oven and close door. Leave dough for approximately 60 minutes. It should double (or almost double) in size. See notes
Pan the focaccia for 2nd rise – 5 min. then 30-60 min. hands off.
- Choose one large sheet pan or 1 round 10-12" cast iron (or a square brownie pan or ceramic quiche/pie dish) and butter all surfaces lightly (this ensures the focaccia won't stick and it seems to be such a common practice, I think it adds flavor as well).
- Add a tbsp of the (4-6 tbsp olive oil) to bottom of buttered pan and spread around with fingers.
- Uncover risen dough. grab the far edge, lift it up and press into center. rotate bowl three more times, lifting edge and pressing in each time (so that all edges have been lifted and deflated into top center of dough mass).
- Dump the dough onto the pan or divide and dump half into the smaller pan (keep other half for later or dump into second smaller pan, your choice).
- Leave dough at room temperature to rise again for 30-60 minutes until doubled in size again (or almost).
Prep vegetables – 15 min.
- While the dough rises, prep your vegetables by slicing each one and keeping them separate so they are easy to look through and choose which to use where. See post for special way to cut shiitakes for nice shape. See notes for alternative veg prep.
Preheat the oven to 450
Form and decorate focaccia – 10 min.
- Once the dough is done rising, use fingers to press it out to fill the entire pan if it hasn't naturally already. Then use all of your fingers to play the piano over the surface of the dough to give it it's signature dimpled appearance. With my method, the dimpling isn't typically as dramatic as you may have seen on tik tok with some super bubbly, often sourdough focaccia doughs.
- Decide on your design, and go to town laying the vegetables in a pattern across the dough, paying attention to the color arrangement as well. See post for details and design ideas/sketches you can follow if you want guidance. See notes.
- Don't forget to snip various fresh herbs over the top, if you can for added flavor and looks.
- Finish, by brushing olive oil gently over the surface of the veggies. This helps them to develop a nice golden and caramelized "patina" in the oven.
- Sprinkle 1 tbsp flaky sea salt all over, drizzle with a bit more olive oil and place in middle rack of oven.
Bake focaccia – 30 min.
- Bake for approximately 30 min. I know it may seem like a long time in a 450 degree oven, but between the water in the vegetables and the high hydration of the dough, it seems to always take that long for the dough to cook and get a lovely golden top.


Excellent recipe! I love the “playing the piano “ part!
Thank you so much Susan! I’m glad you enjoyed “playing the piano” across the surface of the focaccia! 😉
This may be a crazy question, but could you use a convection oven at a different temperature (instead of 450) to make this bread even faster? I’m going to try this recipe. It looks amazing!
Hey Elizabeth!
Yes, you should lower the temp to 425 and it should cook in more like 20 minutes (our oven has the convenction option and I’ve used it). I hope you enjoy the recipe and let me know how it goes!
In my experience it always comes out crispy and delicious, and the veggies add so much caramelized flavor. 🙂
This focaccia really is elevated for a show stopping presentation and great flavor with the beautiful caramelized veggies.